
 A few weeks ago I mentioned I was working on a home brew setup to act as a fermentation chamber, and a few people asked for updates, so here’s one. Typically a fermentation chamber is done with a deep freeze or dorm refrigerator using a separate thermostat for temperature control. The gold standard for dorm fridge setups was the Sayno 4912, which sadly has been discontinued, and are now difficult to come by. I’m lucky enough to have one, but it is currently set up as a kegerator. While the 4912 will take a full 6.5 gallon carboy, and works great as a fermentation chamber, as long as I’m using it for fermentation I’m not using it to keep beer on tap, and I consider that to be a big problem.
Before I got the Sayno, I had a converted deep freeze. A big problem with deep freezes is that they are meant to freeze, and aren’t designed to take moisture well. The model I bought before started rusting within a year, and was finally rusted beyond hope by the time I replaced it. The higher quality deep freezes tend to be large and/or expensive. Additionally, I would have to find some place to put the thing.
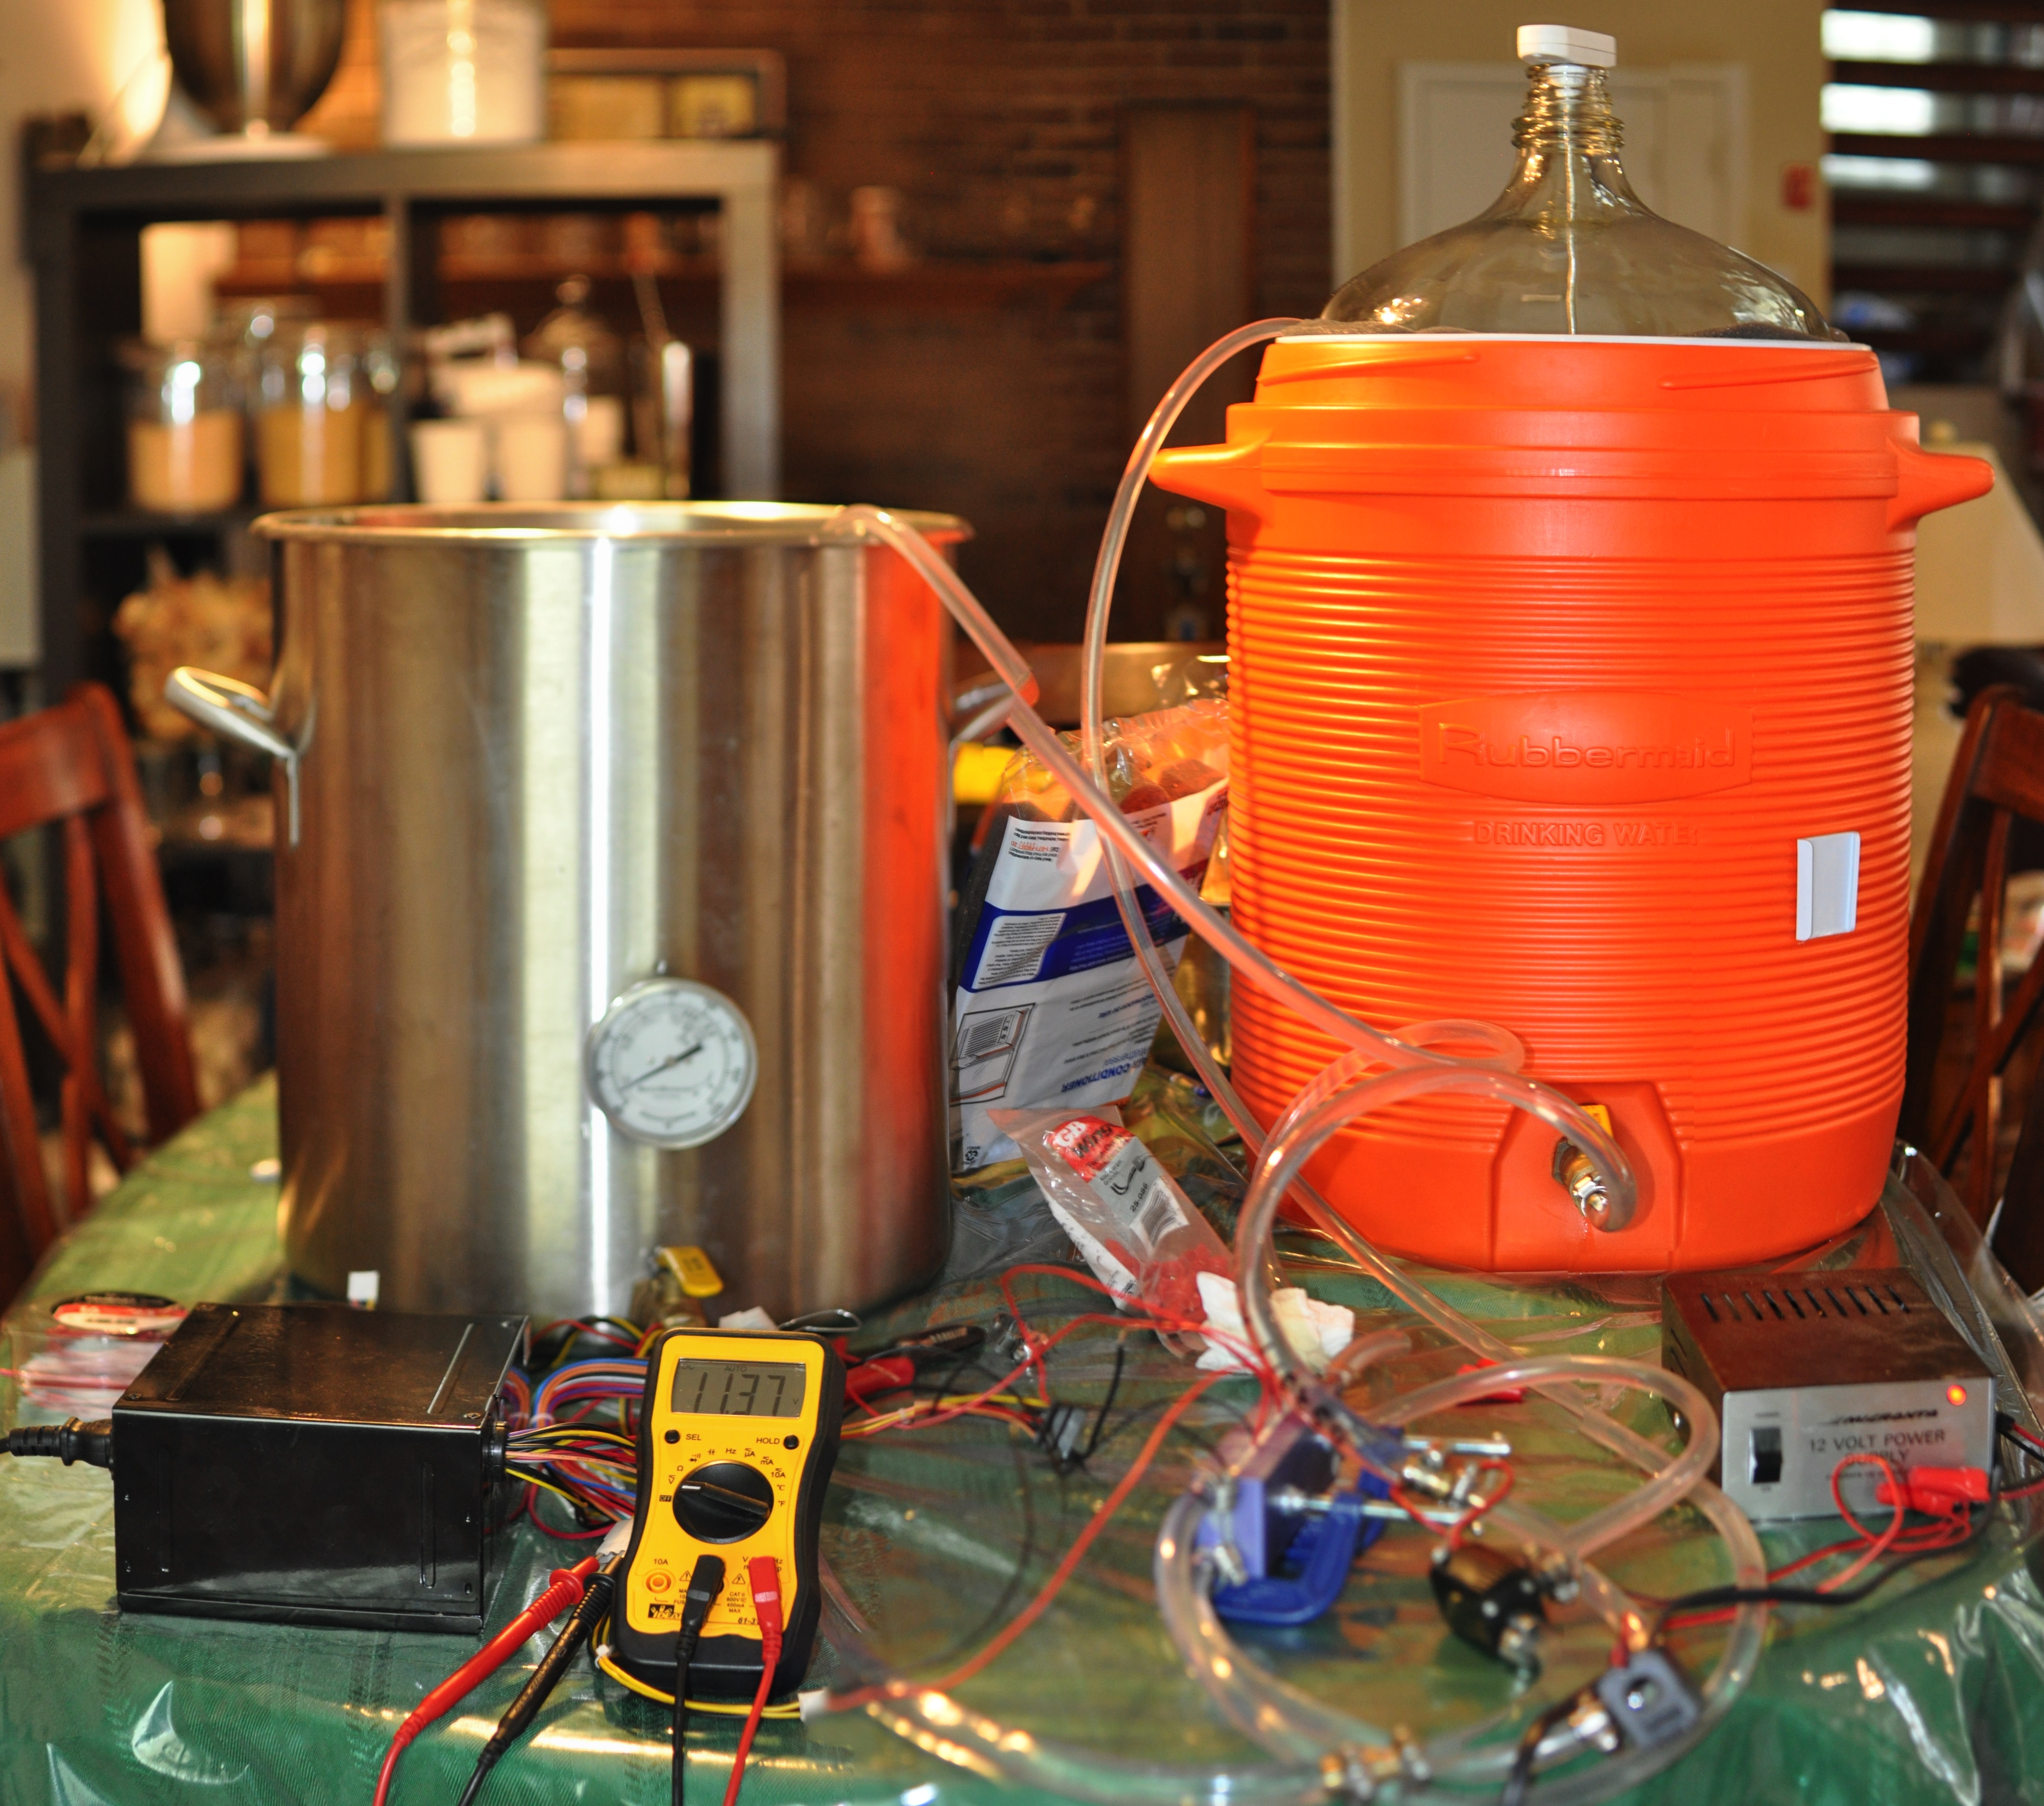
That’s what got me thinking about making something that could use the equipment I already had. A carboy fits nicely in my Rubbermaid gatorade cooler, which I use as a Mash-Lauter Tun. If I could just keep cold water around it, it would make a good fermentation chamber. But how? I had seen this very cool device on Kickstarter, but the 300 dollar price tag seemed a bit much. I also don’t like having to drill holes in the sides of my carboys (which since they are all glass, is a non-starter anyway).
I had read warnings on home brew forums about not going down the thermoelectric rabbit hole, but liking a challenge, and having some engineering skills, I decided to dive head first. The first pelters I tried you can get on Amazon for 11 bucks for 5 of them. I was skeptical of the price, but child labor does save an awful lot, so for 11 dollars I’ll try them. All of them were out of spec!
I’ve since learned there’s a whole world of cheap Chinese peltier module manufacturing. There are a number of companies making them, and quality varies significantly. A quality peltier module from a reliable manufacturer that’ll put their name on it generally run 20-40x the cost of the generic Chinese units. The generic manufacturers have at least standardized the numbering system, so for instance a TEC1-12706 is a single stage module (TEC1) with 127 couple (127) drawing 6 amps (Imax). These are nominally 12VDC units, but they can be driven up to 15VDC and change (Vmax). They’ll use TEC2 for two stage units, and TEG for thermoelectric generators.
The cheap Chinese peltier modules I ordered don’t draw more than 5 amps at Vmax. This is under spec by an amp, which is making me think they were either mislabeled 12705s or they have dead couples in them. Last night I ordered 3Â 12708s from the slow boat. I figure if they only draw 7 amps, I’ll be right where I want to be with some room to spare. How much power I needed was a bit of a mystery at first. I know that a fermenting batch of ale can put out as much as 70W of heat. But I don’t know how much energy the cooler will lose, so that would have to be measured by experimentation.
Now, the problem with peltier coolers is they lose the ability to pump heat as the temperature difference between the cold and hot side opens up. At a 0C difference, mine can pump 60W, and I have three of them wired in series, for 180W total. At 30C difference, they pump half that, so only 90W total. At some point, they drop to the point where they can only pump as much energy as your system is losing and there you bottom out. I can drop a carboy full of water down to lager fermentation temperature (55F) in about 8 hours from room temperature. That’s about as fast as it will happen in a standard refrigerator. I am pleased with that. Now cooling isn’t a linear function, so it’s expected to take a lot longer to drop from 55F to 35F for long term lagering. The problem is I bottomed out at 39 degrees, which is not where I thought I would bottom out. I was hoping to get down to 40 degrees relatively quickly, but it took forever.
One thing I hadn’t considered is how much condensation would build up on the cold side. One calorie is the amount of energy it takes to heat or cool one gram of water one degree celsius. To condense a gram of water vapor, it takes about of 3.2 kilocalories, or 3200x as much energy to cool a gram of water one degree. Condensation is significant energy loss. In my final version of the chiller, I plan to insulate all the lines. I suspect condensation is the reason I’m falling short of where I thought I would, in addition to having peltiers that can’t deliver their specified power.
When all is said and done, what I’ll have is a box about the size of a small PC case with a few radiators in it to chill the warm side loop. Right now my warm side loop is my large brew pot and my wort chiller. Not ideal. On the box, I want two connectors on the outside to attach cold side loop hosing. The cost at the end of the day will about about what a deep freeze plus temperature controller would cost me, but with something that’ll store in a closet, using equipment I already have. Additionally, I’m thinking of designing the box to be dual-use, as part of a HERMS system. Since the box will already have a PID controller and pump in it, I’ll just make it possible to bypass the peltier heat exchanger, and use the PID controller to drive the pump to circulate hot water between a kettle and a mash-lauter tun. First, I needed to prove the concept. I’ve proved it will work. Now I just need to prove it won’t be more trouble than it’s worth.
I’ll be following this experiment with interest. Homebrewing is a new hobby of mine. Good luck!
Intersting that you can’t find a decent “dorm fridge,” since they were originally “underbar” fridges. Or have they gone professional-duty only, and at a corresponding price?
The Sanyo was good because all you had to do to convert it was tear the door shelves off and you were done. There’s still a compressor hump in the back, but it left enough room for a 6.5 gallon carboy before the hump. You could also fit two carboys and a gas bottle comfortably. Also, conveniently, the evaporator was a panel in the back.
The ones available today are either too short, have too much compressor hump, use the evaporator as a freezer box, which you then have to relocate to to rear (and which takes up room), and makes fitting a bottle trickier.
There was a mod for a bit that used a wine chiller, but I understand they also discontinued that.
A lot of manufacturers make kegerators now, including Sayno, and they charge a fortunate for them. I’ve wondered if they purposely killed those lines of dorm fridges, because you could make your own at a fraction of the price. This is roughly equivalent to what I have from the Sanyo 4912. Yes, the trim and drip area are a bit nicer on the purpose built one, but I could have made two 4912 kegerators for less than the price of this thing. I’m sure that point was not lost on Sanyo.
So it’s not so much the lack of units, as the lack of units with appropriate interior configs.
This makes me wonder how difficult it would be to take a standard dorm fridge, remove the cooling unit, and then constructing your own refrigerator with the dimensions you need.
As I imagine it, I’m inclined to think that it’s probably a little easier than my initial thoughts would imply, but that it might nonetheless be more trouble than it’s worth…
It’s something though, that if I had the time and money, I’d be interested in trying. (Ah, time. It would be nice to have some…)
There’s people who have constructed insulated boxes that stick out in front of the fridge to act as a fermentation chamber, but that would look pretty unsightly in my living room :)
I looked at taking a fridge apart, but you have to be able to refill the refrigerant, after you’ve re-plumbed the whole thing. It would be easier to use an old air conditioner.
See this setup as an example. Great idea, but it takes up a lot of room when you’re not using it.